Fated to Move Upon Awakening is a Quest in Scarlet Nexus. Following Naomi's metamorphosis and capture by the Seiran Army, Kasane takes a moment to gather herself back in the Hideout. She wakes up to return to Suoh, determined to get her sister back. After eaves dropping on a suspicious man and General Karen Travers, she is briefly captured, but fortunately rescued by her platoon. Together with her teammates, they travel to Kunad Highway to confront Karen as he starts a public rebellion with Seiran forces.

General Information
- Phase: Phase 3
- Character: Kasane Randall
- Previous: Broken, Scattered Days
- Next: What Waits at the End
- Bosses: Karen Travers
NPCs & Characters
- Arashi Spring
- Kyoka Eden
- Luka Travers
- Karen Travers
- Shiden Ritter
- Nagi Karman
- Seto Narukami
- Satori the Archivist
Bosses
Items
Consumables and Other Items
- Kunad Highway Environment C
- Kunad Highway Environment B
- Kunad Highway Environment S
- Light Jelly
- Other Ecology S
- Other Ecology B
- Other Ecology A
- Rummy-type Suppression
- Pendu-type Suppression
- Brawn Yawn Analysis
Equipment & Upgrades
- N/A
Enemies
Fated to Move Upon Awakening Walkthrough
Kasane receives a brain message from her adoptive mother, who, in her heartbrokenness, blamed Naomi's death on her. Traumatized, red strings begin appear around Kasane, as she notices from the corner of eye that a suspicious man in blue suit, holding a briefcase with the Randall's logo, is nervously heading to the nearby parking lot. Follow the man into the parking lot for the cutscene to continue, showing the man secretly meeting with general Karen Travers. As they speak of their conspired plans to segregate the OSF from within and sway members to join the Seiran Rebellion, Karen catches Kasane eaves dropping, then proceeds to knock her unconscious and kidnap her.
Boss Fight - Shiden Ritter

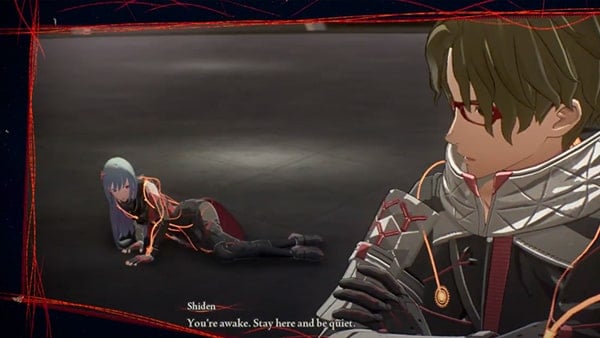
Kasane will wake up in a room, guarded only by Shiden Ritter (Boss), who turned out to be working under Karen Travers this whole time. He explains that Seiran is his homeland and he is more valued by Major General Travers than he is by General Fubuki Spring. Realizing this, Kasane attempts to take down Shiden to break out of the room, kickstarting the 1 vs 1 boss fight.
With no other teammates present, Kasane will have no access to SAS, making her most obvious advantage the superior range of her Arrowloot Leaf. A much quicker striker than Shiden up close, continuously interrupt him with Arrowloot Leaf attack combos, which should keep him at bay, preventing him from landing any attacks on you. Watch out for his occasional lunging slashes, and execute Perfect Dodges to counter if possible. Use Psychokinesis to further damage and knock back Shiden when at range. With Shiden constantly held back at range, he will should not be able to even touch you, thus unable to stun you with his Electrokinesis attacks.
Use the first Brain Crush available when Shiden is at around 70% health to burst him straight down to about 35% health. Continue to kite backwards as you throw your knives at him, and execute Perfect Dodges to counter whenever he lunges in. When Shiden is cornered near objects, pull them onto him from behind with Psychokinesis. Use Light Jellies to heal up if ever caught by his Electrokinesis melee attacks. Defeat Shiden as you continue to abuse Kasane's superior range and burst damage.
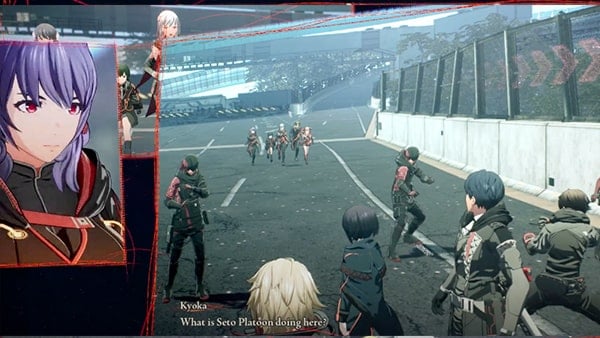
Upon defeating Shiden, Luka Travers, Arashi Spring, and commander Kyoka Eden will arrive via teleportation to Kasane's rescue. Saving Shiden from embarrassment, Kasane tells the platoon that Shiden came first to support her. Luka reveals that his brother, Major General Karen Travers, has started a public rebellion against the OSF along with his regiment. They relay information with each other, and conclude that Karen is currently located at the Kunad Highway. Together, the platoon decides to travel there to stop Karen in joint effort.
The location Kunad Highway will automatically unlock on your World Map. Exit the room back onto the Suoh Main Street, then promptly travel to Kunad Highway's Suoh Exit to progress.
Kunad Highway - Abandoned Road Overrun By Nature

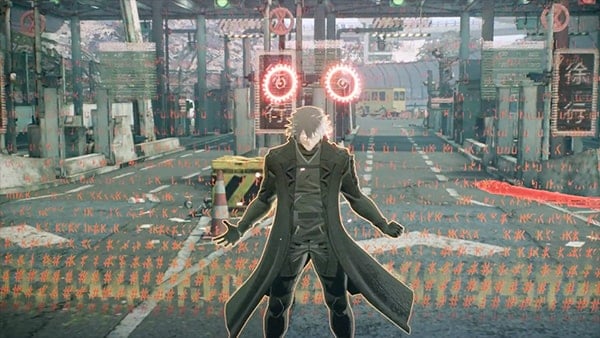
Once you arrive, continuously travel down the Kunad Highway towards the objective marker. It is but one straight path, so just keep progressing forward to reach the objective. Many Others will stand in your path on the abandoned highway, including Rainy Rummies, Buddy Rummies, Scummy Rummies, Bandeau Pendus, and Brawn Yawn. With Arashi and Luka by your side, you can take them all down with relative ease, as SAS: Teleportation will allow you to instantaneously blink in and out of battle, while SAS: Velocity will warp time around you to hyperspace levels, causing all units to practically pause in real time relative to your super speed. Follow the pop-up tutorials to best optimize these two powerful SAS abilities, and combine Psychokinesis into your recipe of mauling down tons of Others. Clear them out of the way and continue down the highway, pass the junction section, until you arrive at the objective. Right before walking into the objective marker, save the game as you pass by Satori the Archivist. A cutscene will play at the objective as Kasane catches up to the Seto Platoon, and Karen's interruptive entrance as he dashes past Luka. Luka then attempts to teleport to Karen and strike him in melee, but Karen swiftly teleports behind Luka, and flings him away. The first boss battle against Karen Travers will then begin.
Boss Fight: Karen Travers

The goal of the battle is to stall and damage Karen for a period of time until the next cutscene plays, as it is written to be a defeat on Kasane's side. Players need not worry about dodging all of Karen's skills or bursting him down, as his abilities are far beyond that of the entire platoon's combined, hence defeat is imminent. Karen will spam teleport throughout the battle. This is difficult to react to as it has no pre-cast, but players can attempt to predict and dodge just a before he blinks in, or "pre-strike" to land a lucky hit.
Watch out for is Karen's lightning attacks. He charge up 3 giant, tracking lightning spheres that will inevitably hit, applying a long stun. Karen can also jump up to cast lightning in a wide area in front of him. Although none of his skills can be interrupted, they do have a pre-cast - raising his fist before summoning the Lightning Orbs, and jumping into the air before casting Electrical Discharge. Players can take these as warnings and pressure Karen with melee strikes, and in response, he will often teleport backwards. This will allow players to land a few Psychokinesis hits occasionally.
After a period of time, Karen will enter his brain field state, teleporting onto you more aggressively. Soon after, the battle will end as the next cutscene rolls. All present members will witness Karen perform a powerful wind and fire combo attack, blasting every one far off into the distance. Right before the fire reaches Kasane, Seto jumps in and throws her out of the way to protect her from damage, before being pushed away himself.
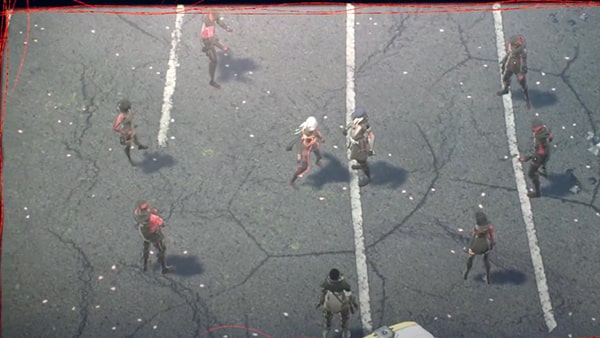
You will spawn in front of Satori the Archivist yet again. Follow the new objective marker, where you will encounter a large group of Seiran NDFs. Although unable to access any SAS abilities, they can be easily taken down with Psychokinesis and Arrrowloot Leaf attack combos. Since they standing idly still in a large group, you can damage multiple of them with each strike. Once you clear all the Seiran NDFS, the story will progress on to its next major scene.
Kunad Highway - Red Strings and Anomaly

The next scene features OSF soldiers arrive to surround Seto and Kasane, and a commander giving the order for Seiran NDFs to fire, where they shoot bullets of unknown material out of their gauntlets. Seto promptly pushes Kasane onto the ground together with him, saving her from the shot, causing the bullets to hit the OSF soldiers instead. They instantly shatter, and turn into Others, identical to the way Naomi metamorphosed. Shocked, Seto and Kasane run for their lives, as Seto tells Kasane that the Seiran NDFs are more likely from Suoh. Kasane responds by telling Seto of the similar incident that happened to Naomi, and the two agree to return to General Karen Travers, in hopes that he could answer their suspicions - that it is the government of New Himuka who is behind all this, turning people into Others as a means to use them as weapons. However, they find Nagi and Yuito outnumbered by groups of Others, while they are busy holding their own against a large Winery Chinery. The cutscene will end, allowing for the player to take down the large Other with Kasane's powers.
With Yuito present, you will have access to SAS: Psychokinesis, and the ability to deploy a Psychokinesis field, where you can lift all surrounding objects at once and crush enemies with their combined throws. Since your Psychokinesis is resonating with Yuito's, this augmented move will cost no energy from the Psychokinesis gauge. Follow the pop-up tutorial to utilize the Psychokinesis Field against the large Winery Chinery. Watch out for its spray attack as it lifts its head upwards, as it will cause water to pour out of its tank, applying the Soaked Status Ailment on you, slowing you down. Following this, the Winery Chinery will proceed to perform a quick dash attack, knocking units up and dealing heavy damage. Run back immediately to give gain distance if soaked, and dodge right away when it dashes. Follow the prompts and throw near by large gas tanks onto the Winery Chinery, which will cause flaming explosions to ignite its body, dealing great burst damage and applying DoT damage with the Burning Status Ailment. Land a frenzy of attacks on it as it is stunned by the explosion. Continue to damage the Winery Chinery with Psychokinesis Fields as you follow the prompts, and the cutscene shall continue once it is defeated.
The following scene will be a prolonged cinematic, playing an integral part of the Scarlet Nexus narrative. Nagi will suddenly experience a personality shift, turning on his teammates with a powerful wind attack. He will continue to knock back Kasane and Yuito with his wind storms, and attempt to kill them. Seeing this, Seto jumps in to defend the fallen Kasane and Yuito, and fight Nagi with his Electrokinesis powers. However, Nagi takes advantage of the Kasne and Yuito's vulnerable position, and charges at them with a powerful swarm of Wind Shurikens. Determined to protect his fellow OSF members from Nagi's lethal onslaught, Seto stands his ground and spreads his arms wide open, sacrificing himself in process. Right before he falls, Seto holds Nagi in an embrace, and electrocutes Nagi from behind, incapacitating him on the spot. Witnessing this traumatic event triggers Kasane's powers to lose control again, and the sudden surge of Psychokinesis energy resonated with Yuito's ripping the space around them and creating an apocalyptic Black Hole. The two Psychokinesis casters are instantly engulfed by the anomaly, and find themselves surrounded by visions and red strings. Surrounded by fragments of different portals that show the events occurring in different timelines, they witness the death of the legendary Yakumo Sumeragi as he is killed by a shadowed figure. As Kasane recalls of a motherly voice who had told her to hold on to red strings because they will lead the way, she quickly holds on to one, and the screen fades to white, transitioning the storyline onto Phase 4.
Trivia & Notes:
Trivia and notes go here
