Eternal Vow, Eternal Bond is a Quest in Scarlet Nexus. Cooperating with Kasane and her team, Yuito and his team decide to pressure the New Himuka government to help them stop Togetsu's plan. Well aware of the danger, they head to Suoh in order to talk to Yuito's older brother, Kaito.

General Information
- Phase: Phase 9
- Character: Yuito Sumeragi
- Previous: Collecting Pieces of Unknown History
- Next: Conclusion and an Accidental Meeting
- Bosses: Nagi Karman, Karen Travers
NPCs & Characters
- Luka Travers
- Hanabi Ichijo
- Gemma Garrison
- Tsugumi Nazar
- Wataru Frazer
- Kaito Sumeragi
- Kasane Randall
- Shiden Ritter
- Arashi Spring
- Kagero Donne
- Kyoka Eden
- Fubuki Spring
- Satori the Archivist
Bosses
Items
Consumables and Other Items
- Max Jelly
- Medium Jelly
- SAS Refueling Drink
- Arahabaki Environment A
- Arahabaki Environment B
- Arahabaki Environment C
Equipment & Upgrades
- n/a
Enemies
Eternal Vow, Eternal Bond Walkthrough
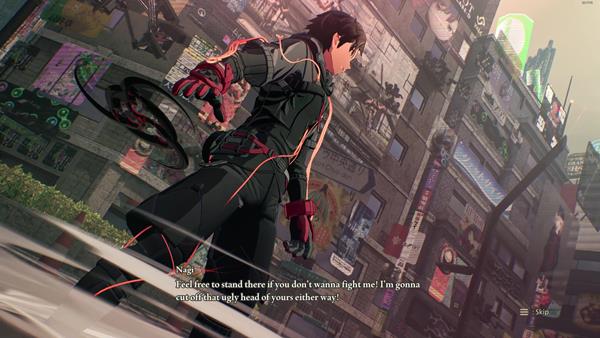
Yuito's team cooperates with Kasasne's team to put some pressure on the New Himuka Government. Well aware of being labeled as rebels and of the danger, the team returns to Suoh City to meet with Yuito's older brother, Kaito. As they walk the streets of Suoh, they bump into a personality rehabilitated Nagi Karman
Boss Battle: Nagi Karman
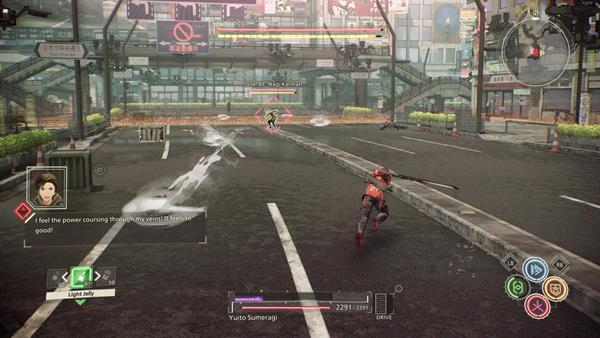
To start things off with this quest, you'll be going up against Nagi Karman for the second time around. This battle is different from the first in multiple ways. First, if Yuito has a strong enough Team Bond with his platoon, his teammates will call to him from time to time, and when the player responds to the call (by pressing ![]() +
+ ![]() ), an Assault Vision of his teammates will take his place, executing a powerful attack combo. Secondly, this fight will be against an augmented version of Nagi, who will deploy new attack moves and display new powers such as brain field during the battle.
), an Assault Vision of his teammates will take his place, executing a powerful attack combo. Secondly, this fight will be against an augmented version of Nagi, who will deploy new attack moves and display new powers such as brain field during the battle.

In the initial phase, Nagi will maintain the same melee attack pattern but will use it less than before, as they are partially replaced by a new ranged attack which he will deploy frequently. With this attack, Nagi will summon a barrage of wind Shurikens to levitate around himself, before throwing them at his target in rapid succession. These Shurikens are incredibly fast, are accurate, and deal high spike damage, such that they can burst down Yuito at full health with 7 or fewer hits. They will even stun the target upon landing consecutive hits, easily leading to a quick death as the target will be unable to avoid the following Shurikens.

Nagi can be stopped during this attack if Yuito manages to close in and pin him down first with a chain of melee attacks. This can be achieved either with a will timed leap, a Perfect Dodge, or with SAS: Teleportation. During this fight, it also seems that Nagi has a tendency to stand still after gaining distance, and will only execute his melee wind combos if approached. If Yuito can land multiple Psychokinesis hits on Nagi before he winds up his wind Shurikens, Yuito will have an opportunity to charge at Nagi and maul him down with melee attacks.

When Nagi is at around 70% health, phase 2 will begin with a cutscene featuring Nagi screaming in pain as he holds his head, before he releases a burst of a strong wind at Yuito and his allies, chunking 30% of Yuito's health. In this form, Nagi will gain increased movement speed and can perform a quick charge at Yuito he surrounds himself with wind, and occasionally hurl tornadoes. Keep moving and wait for Nagi to stand behind a lamp post or bus shelter, and use Psychokinesis attacks on him. As he throws Shurikens or attacks in melee, attempt to perform Perfect Dodges to counter burst Nagi. Attacking Nagi with a few more cycles of melee combos should deplete his Crush Gauge completely, allowing Yuito to burst his health down beyond 50%.
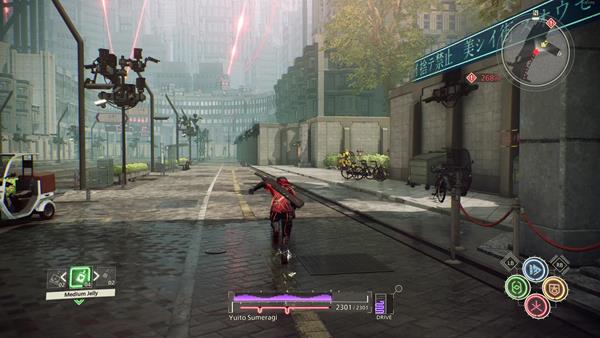
Once Nagi's health is reduced beyond 50%, the final phase will begin, and Nagi will instantly enter his Brain Field state as he appears in his hooded form. Ironically, since Nagi is somewhat limited to throwing slow-moving Tornadoes in the brain field realm, he will not pose much of a threat so long as the player maintains movement by running to the side continuously, so try to hold your ground and wait for the 40-second timer. Do this until the brain field state ends, and be cautious of melee attacks from behind as Nagi deploys his smokescreen. Use SAS: Clairvoyance to see through it, and continue to stay on the offense and pressure with attacks. Time your Assualt Vision right when Nagi attacks as your teammates should be calling out to you more frequently in this phase. Keep up with pressure relentlessly to defeat Nagi - you'll continue the quest after defeating him.
Head to OSF HQ

Your task is pretty much linear, reach the OSF Headquarters and look for Kaito. If you need to save the game, replenish your HP, restock on items, then you can find Satori the Archivist outside the entrance of Sumeragi Tomb Grounds. You'll now arrive at Suoh OSF Chief's office. Head to the entrance of the office and a cutscene will trigger - you'll return back to the streets of Suoh after the alarm sets off, simply follow the waymarker and reach for the Safe Zone to trigger another cutscene.
Arahabaki Secure Site
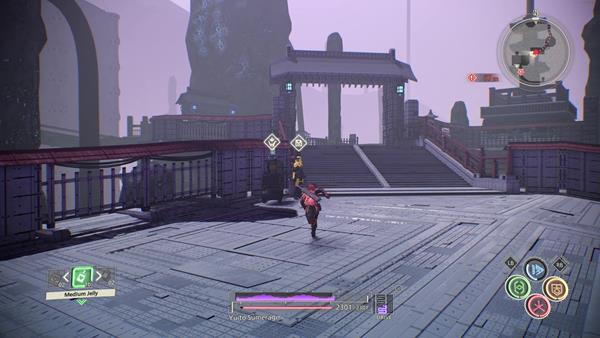
After the cutscene, open the World Map and travel to your next location, the Bridge of Purity in Arahabaki Secure Site. Now, upon gaining control of Yuito, approach the large bridge and use Psychokinesis so that you can push it down. For the early section of this location you'll be fighting on your own, but, you still have access to using the powers of your allies via Struggle Arms System (SAS). On the other side of the bridge, you'll encounter a group of Vase Paws and Bandeau Pendu. You don't have Arashi here, so to counter the Bandeau Pendu, use SAS: Teleportation to teleport to it and land a counterattack - there's a locked gate nearby as well that you can teleport to phase through, and you can find a material cache containing x3 Arahabaki Environment C.
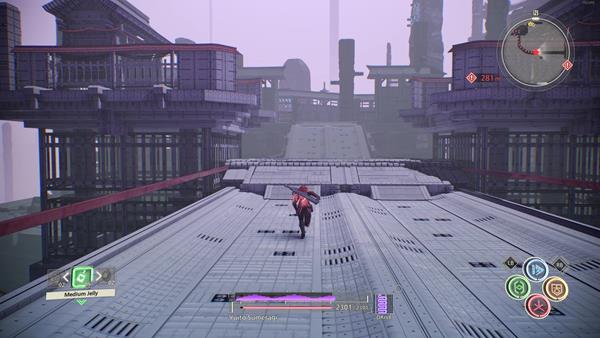
Head to the quest objective where you'll find Satori the Archivist near the objective area. When you're ready, proceed forward towards an arena and you'll encounter a group of Vase Paws, followed by Bandeau Pendu. After defeating the enemies, you'll see a switch that's glowing with blue light, interact with it to open the gate that's in front.
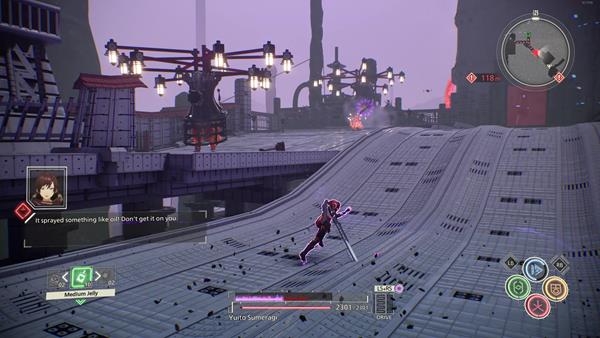
Run towards the conveyor-belt path and mid-way, you'll find a resource cache on the left. Double jump to reach the platform and grab it to find x1 Medium Jelly. On the opposite side, however, is a material cache containing x3 Arahabaki Environment B. After grabbing the items continue further where you'll reach another open area where Others will spawn such as a group of Vase Paws and Bandeau Pendu, followed by a Booger Sabbat - simply kill all the enemies to continue onto the next section.
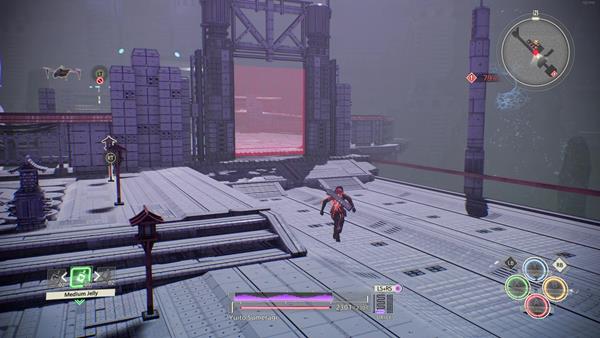
Head up the steps, turn left first and jump onto the platform above to find items such as x1 SAS Refueling Drink and x2 Arahabaki Environment A. Jump back down and continue towards the quest marker. Along the way though, when you are running on the conveyor-belt path that's moving backward, you'll encounter x2 Base Paws that will shoot biles of oil at you. Use SAS: Teleportation so that you can quickly teleport onto the platform where the enemies are and then take them out as you move forward.

Now, go through the door that is blocked with a red barrier on it, you need to use SAS: Teleportation to get through. On the other side, turn left first and you'll find a resource cache containing x1 Max Jelly. Grab the item and proceed towards the next area of the site, the Hallowed Grounds.
Arahabaki: Hollowed Grounds
By the starting point of this sub-area, you'll find Satori the Archivist, save your game, restore your HP, and restock on items if you need. Head up the steps next to Satori and you'll be ambushed by another group of Others in the open area. You'll fight against Vase Paws and the Booger Sabbat. Once they've been dealt with, you need to look for the switch that's located on a different section to unlock Gate 2. There's a large bridge nearby that you can push down with Psychokinesis, do that and you'll find the switch on the other side.

Activate the switch, go back and go through Gate 2 where you'll find another locked gate, which is Gate 3, and again, you need to find the switch that can be found by going up the stairs that's on the left side of the gate. Upon activating the switch, you'll encounter x2 Booger Sabbat that will spawn by the gate once it is unlocked and when you approach the gate. Kill both enemies to unlock the barrier and proceed through gate 3. Run up towards the door with the red barrier and use SAS: Teleportation to phase through, Satori the Archivist will be on the other side - the path ahead will have some detours as you proceed, but most of it will just have dead-ends where you fight more Others and find resource caches. The goal of course is to reach the top section of the site where you'll encounter Karen Travers.
Boss Battle: Karen Travers
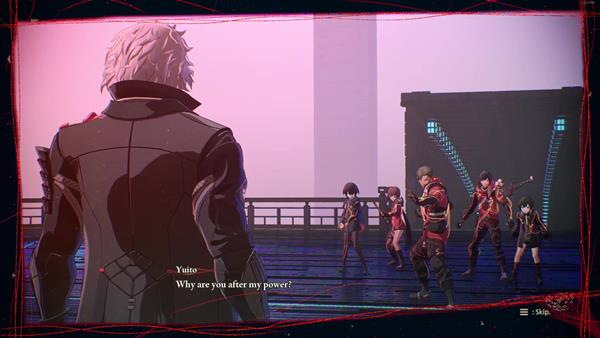
This will be your second encounter against Karen Travers. Although still an inevitable loss, this encounter will be an actual battle against Karen. Karen differs from other Bosses in that he does not have Crush Gauge, leaving the player no chance to chunk his health with with the Brain Crush move. However, during this phase the player will have access to Assault Vision, which can greatly enhance the effectiveness of Yuito's combat capabilities against Karen.
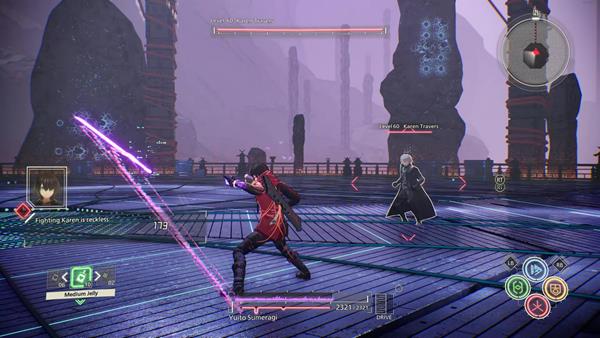
Karen will blink around the arena even more frequently than the first fight, making it near impossible to land any melee hits on him. The only window of opportunity to land a few hits on Karen is after he uses his mid-air Electrical Discharge skill, where he will kneel on the ground for a few seconds as he lands. Leap onto him and land a few slashes if in range, or throw nearby crates at him with Psychokinesis. If possible, answer to Tsugumi Nazar's call right away to fire her Assault Vision gunshots at him, which will further stun him, allowing the player to follow with more attacks.
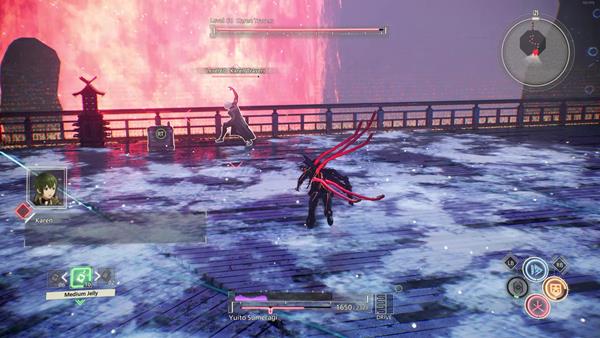
Shortly after landing, Karen will blink near Yuito to execute an ice-based attack, freezing the ground over a huge area that grows underneath you, then summoning giant ice spikes to pierce out from the ground. The only way to evade the incoming ice spikes is if you can start running sideways right away when you spot Karen freezing the ground with his hand. You can achieve this by keeping an eye on him once you finish attacking him after his Electrical Discharge attack.

At roughly 80% health, Karen will enter into his Brain Field state. Not much is different about Karen's attacks in this state, as he merely teleports and chases you down even more. Continuously dodge his attacks with side dodges and Perfect Dodge, and chunk his health a little at a time with regular attacks and Tsugumi's vision. Eventually, when Karen's health is reduced to 50%, the battle will end and the cutscene will reveal Yuito and his platoon's complete defeat in Karen's hands yet again - after the battle, travel to Main Street of Suoh City Ryujin Ward to progress the story, and eventually, you'll return to the Hideout.
Trivia & Notes:
Trivia and notes go here
