Conclusion, and an Accidental Meeting is a Quest in Scarlet Nexus. It features the two platoons traveling up the Hieno Mountain together as one, then through Togetsu into BABE. Throughout their journey they fight against numerous Others in skirmishes, and eventually reach the Floor of Instinct on BABE, where a sudden earthquake forced them through a door in front. They then find themselves chased by the largest Other ever encountered, and attempt to run from its pursuit, fearing for their lives. Soon after they managed to escape, Kasane travels back to the Kunad Gate in attempt to once again change the past, as she goes back to the Old OSF Hospital 11 years ago to find Yuito Sumeragi, and recover Wakana Sumeragi.

General Information
- Phase: Phase 10
- Character: Yuito Sumeragi / Kasane Randall
- Previous: Protecting Lives and Protected Lives
- Next: Feeling Unraveled Time Together
- Bosses: Court Mourt
NPCs & Characters
- Kasane Randall
- Arashi Spring
- Shiden Ritter
- Kyoka Eden
- Kagero Donne
- Hanabi Ichijo
- Satori the Archivist
Bosses
Items
Consumables and Other Items
- Light Jelly
- BABE Environment B
- BABE Environment C
- BABE Environment S
- All: Normalization Tablet
- Santa-type Suppression
- Rut-type Suppression
Equipment & Upgrades
- N/A
Enemies
Conclusion, and an Accidental Meeting Walkthrough
Following the events that happened in Phase 9, the two platoons decided to head to Hieno Mountain, through Togetsu and BABE, to find the answers to their suspicions.
Hieno Mountain: Around Togetsu
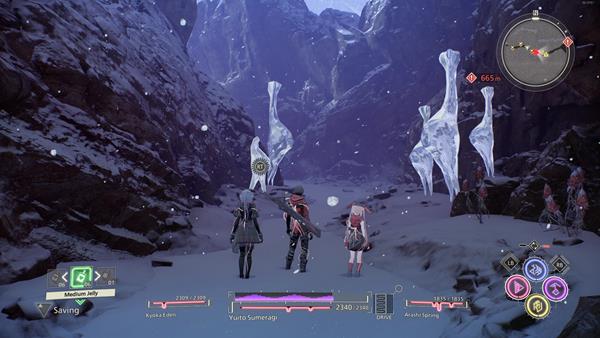
You'll first find Satori the Archivist at the starting point of the area. Save your game, replenish your HP, or check the shop if you need to. The path here is pretty linear and all you need to do is reach the mountainside path where the entrance of Togetsu is. Along the way, you'll encounter enemies such as the Rat Rut, Doppel Pool, and Rainy Rummy. A cutscene will then trigger when you're near the entrance of Togetsu.
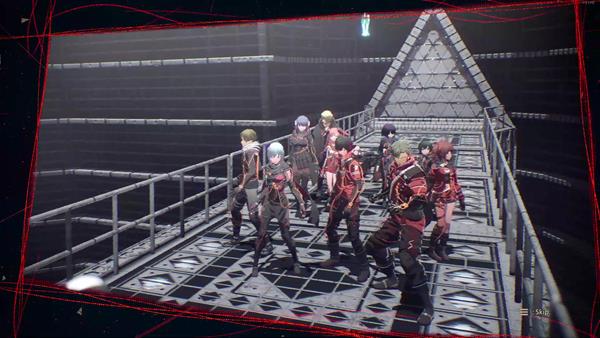
Simply head inside and another cutscene will follow where we find the team ambushed but is able to teleport with the help of Luka to BABE, a hidden sanctuary within Togetsu. Upon arriving, you'll immediately be ambushed by enemies such as the Cut Rat which is a tougher variation of the Rat Rut. Use Psychokinesis to throw objects at it in order for its shell to break, revealing its weak spot - a cutscene will again, trigger after defeating the two enemies.
BABE: Stairway to the "One and Only" Future
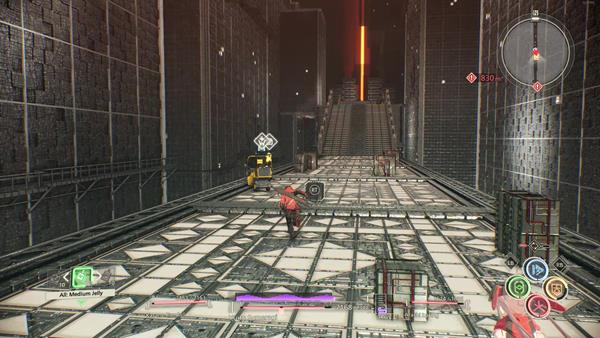
After the cutscene, proceed forward towards the long bridge where you'll, again, find Satori the Archivist. Continue on, past Satori, and you'll first encounter the Doppel Pool. Defeat the enemies and continue to the next area where you'll come across a group of Cut Rat. The next enemy you'll encounter is an Auger Sabbat, make sure to break the shell protecting its face to reveal the weak spot.
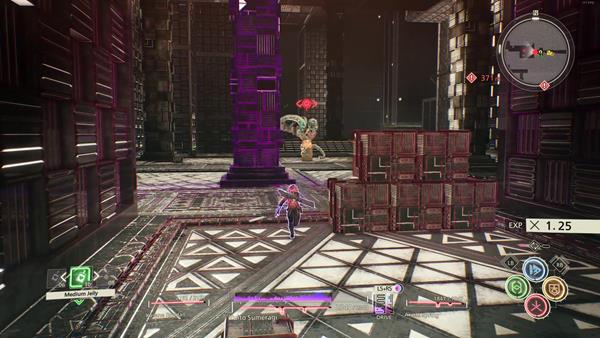
In the uppermost section where you'll again, bump into Satori the Archivist, you'll encounter the Saliva Santa. This enemy will try to hide inside its box, so using Psychokinesis to throw objects at it will break its shell, or using SAS: Invisibility will help in baiting it to pop out of its box. You'll encounter more of this enemy in the same area. Head up two stairs and you'll encounter another Cut Rat and Doppel Pool enemies. There is actually a lot of enemies that are roaming the area but you can choose to just run away unless you walk into an area that blocks your path which requires you to defeat the enemies so that you can proceed - simply head towards the marked objective that will take you to the BABE - Floor of Emotion.
BABE: Floor of Emotion

Continue towards the objective where you'll encounter more enemies. But luckily, along the way, you can use Psychokinesis to ride on a metal platform to use it to run over enemies along the way, and easily maneuver your way around. You'll automatically get off when you reach the limit of the area you can travel to, and you'll find Satori the Archivist again. Be cautious when you're near the objective because you will encounter a strong enemy, the Slippy Chinery. Head towards the marked objective to the Floor of Instinct and a cutscene will trigger when you reach it.
Boss Fight - Court Mort Chase
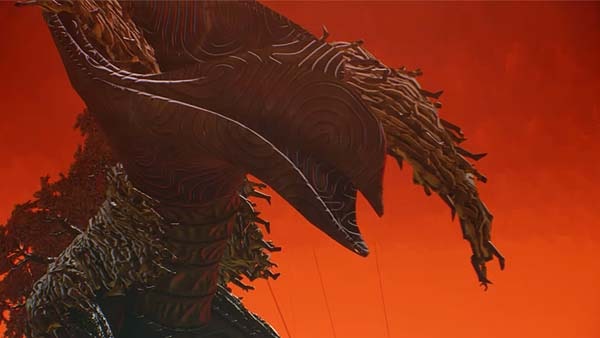
The goal of the battle is for the platoon to get past the narrow bridge as it collapses within a roughly 2 minute chase. The Court Mort will chase from behind, summoning groups of Plateau Pendus. Lagging behind will cause the player to fall and instantly lead to game over, so make sure to use any skills at your disposal, such as jumps, dashes or SAS to stay ahead of the collapsing bricks.
The Plateau Pendus will fly forwards in groups. Double jump right before they hit you from behind to evade. Alternatively, use SAS: Slerokinesis to become immune to attacks if the incoming Plateau Pendus are too fast to evade Take note that each Plateau Pendu flies at varying speeds, so each jump must be timed differently. Being hit will not only deal damage but more importantly, severely slow down the character, allowing bricks to catch up, possibly resulting in a fall to death.
At around 1 minute in, the massive unnamed Boss will release a powerful beam of Others energy from its head, eating away half of the bridge's width. Run to the right edge of the bridge as this happens to avoid being hit by the beam and falling. Soon after this attack, you will receive prompts from team mates that the platoon is approaching what seems to be the exit leading to BABE's center. The Others leviathan will begin to catch up from right behind, as it mauls down the bridge with its head. This is why it is important for the player to save up the SAS: Velocity for this moment, as it might be difficult to out run this giant otherwise. Continue to run ahead for a few more seconds for the chase to end with the next cutscene.
Through the Kunad Gate
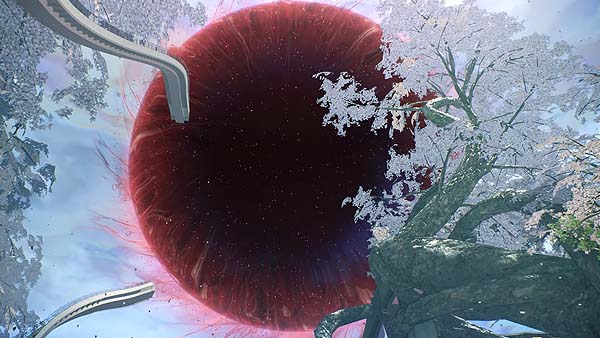
Once you escape from the Court Mourt's pursuit, you will arrive at yet another room in BABE's Floor of Instinct. Open up the World Map and together with your teammates, travel to the Parking Area on Kunad Highway once more. Use SAS: Teleportation or SAS: Velocity to speed up the journey as you run straight towards the objective marker. Once you reach the marker, you will automatically enter a realm that mimics that of the Brain Field state, however portals featuring scenes of the past and red strings can be found floating about randomly. Continue straight on to the next objective marker, through a portal where you can see the Old OSF Hospital. You will instantly enter into the lobby of the Old OSF Hospital, 11 years ago before it was abandoned. Follow the objective marker in the hospital to find the past Yuito. Once you manage to do this, you trigger another cutscene, which will feature your return to the Hideout, as your bring Wakana Sumeragi along with you back from the past.
Trivia & Notes:
Trivia and notes go here
