Broken, Scattered Days is a Quest in Scarlet Nexus. Kasane wakes up at the Hideout following the fight against the Others back in Kikuchiba during Phase 1. As instructed by her commander Kyoka Eden, she heads back to the OSF Training Facility to participate in a joint training exercise between her platoon and commander Seto Narukami platoon. Paired up with two newly introduced characters, Hanabi Ichijo and Tsugumi Nazar, Kasane takes up the initiative to be the leader of the team, and executes her plan to win the training tournament. As Kasane and her platoon is abruptly called to suppress and sudden surge of Others in the underground Abandoned Subway, Naomi's life takes a sudden turn, and her whereabouts become unclear.

General Information
- Phase: Phase 2
- Character: Kasane Randall
- Previous: Searching for Freedom
- Next: Fated to Move Upon Awakening
- Bosses: Yuito Sumeragi
NPCs & Characters
- Kyoka Eden
- Naomi Randall
- Seto Narukami
- Kagero Donne
- Yuito Sumeragi
- Nagi Karman
- Tsugumi Nazar
- Gemma Garrison
- Haruka Frazer
- Satori the Archivist
Bosses
Items
Consumables and Other Items
- Battle Record S
- Battle Record A
- Battle Record C
- Light Jelly
- Pool-type Suppression
- SAS Refueling Drink
- Abandoned Subway Environment A
- Abandoned Subway Environment C
- Rummy-type Suppression
Equipment & Upgrades
- N/A
Enemies
Broken, Scattered Days Walkthrough
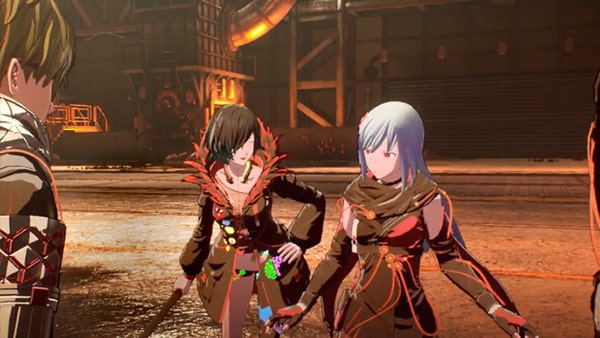
The beginning cutscene features Kyoka, Naomi, and Kasane travelling back to Suoh to participate in Platoon Seto and Platoon Kyoka's joint training exercise. After arriving at the OSF Training Facility, you will discover that Kagero is the host of the event, who explains the rules of the exercise, how teams are split, and how one can win. He also reveals that he has prepared a generous prize for the winner, before you are introduced to your team members Tsugumi Nazar and Hanabi Ichijo.
OSF Training Facility - The Joint Training Exercise
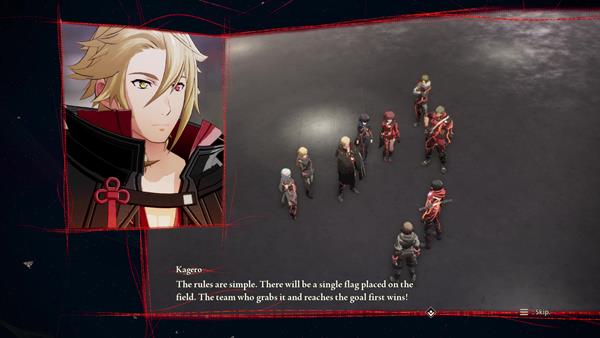
Following the cutscene, a tutorial on commanding allies to change tactics will pop up. Take note of the different tactics your team can employ and how to switch between them, before progressing onwards towards the objective marker. Defeat Fuel Pools on the way using SAS: Pyrokinesis, which will apply the Burning Status Ailment to deal extra damage, speeding up the process. As you continue to move toward the target area, you will encounter several Saws Paws, who will use their invisibility to sneak around you before attacking. Activate SAS: Clairvoyance to detect all units around you, then execute a Perfect Dodge before pressing the (X) button to counter with a Read Attack. When encountering Scummy Pendus along the way, simply defeat them using Kasane's powerful melee combos. Once you reach the outside into Suoh, you will encounter more Scummy Pendus, accompanied by a Missin Pound, who cloaked themselves in a cloud of fog. Use SAS: Clairvoyance once again to locate and destroy them, and use Psychokinesis attacks on the Missin Pound if it flies out of range. Keep heading towards the objective marker, until you reach Satori the Archivist. Save the game, run forwards then turn right, and run across the parking lot to trigger the next cutscene. This scene will display Kagero, Yuito, and Shidden approaching form the opposite side, and Kasane's team deciding to ambush them. As the confrontation happens, both team's members proceed to 1 vs 1 each other, with Kasane charging head on at Yuito, beginning a boss fight.
Boss Fight - Yuito Sumeragi
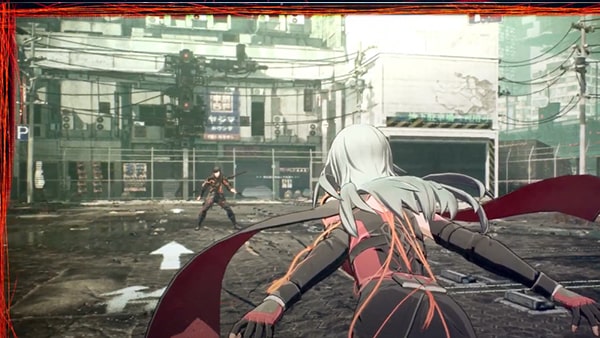
With Kasane's ranged Arrowloot Leaves, players can simply outrange Yuito and interrupt him when closing in on melee as Kasane's spinning attack combos has a much farther range. Furthermore, Yuito tends to remain stagnant for long durations before moving to another point to attempt attacks with Psychokinesis. Follow the prompts from the game, and execute dodges then instantly press the (RT) button to Intercept Yuito's Psychokinesis attacks, hurling objects back at him. When Yuito's Crush Gauge depletes, apply a devastating blow with Brain Crush.
At roughly 20% health, Yuito and Kasane will both use Psychokinesis to throw a nearby lamp-post towards each other. Spam the (B) button as rapidly to fill up the gauge below, which will overpower Yuito, automatically defeating him by slamming him on the side with the pillar.
The boss fight will end with a cutscene, showing Kasane's team achieving victory, for which Kagero will reward you with a Power Enhance: MK I. Following the cutscene, Kasane will be teleported back in the streets of Suoh.
Abandoned Subway: Suoh Line 9 - The Extinction Belt
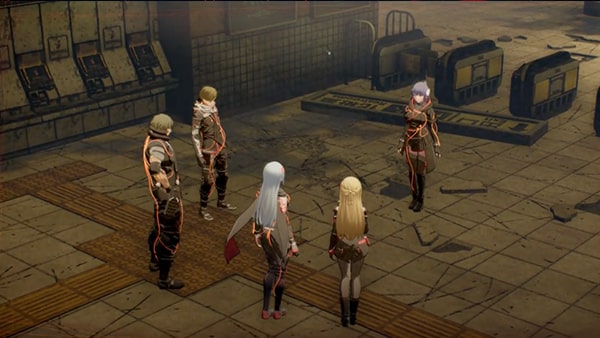
From Suoh, travel to the Sumeragi Tomb to look for Yuito. Walk all the way up following the multiple flight of stairs. As you are climbing the stairs, Kasane will receive news from Haruka, regarding a new deployment order, for Kasane to travel to the Abandoned Subway: Suoh Line 9 to suppress a new group of Others. This new location will be unlocked on your World Map automatically. Travel to the Abandoned Subway: Suoh Line 9, Hirasaka Station Entrance to continue with the story. Upon your arrival, a cutscene will play, presenting Kyoka briefing the platoon of her plans to take down this new swarm of Others. She will reveal that the reason these Other have infiltrated the undergrounds is due to the Extinction Belt's sudden descend in altitude. Kyoka will also assign Gemma as the temporary platoon commander, as she needs to be in charge of the entire First Regiment's Eight Company throughout this operation. Once the cutscene ends, your SAS will be connected to Gemma and Shiden's, and you will be granted access to the Brain Drive gauge as well as ability. Take note of the tutorial pop-up before progressing onwards towards to objective marker. Destroy all Rainy Rummies and Scummy Pools encountered in your path, and activate SAS: Sclerokinesis to become temporarily immune to attacks when needed, as the shock attacks from the Rainy Rummies can briefly disable you. As you tread deeper into the Abandoned Subway, you will encounter the metal plated Rat Ruts. Destroy their shells using Psychokinesis attacks and Brain Drive, then further pin them down using SAS: Electrokinesis to finish them. You will eventually run in to an area guarded by an Auger Sabbat. One of the tougher Sabbat-type Others, overwhelm it with Psychokinesis and melee combos, and keep aiming at its helmet. Once its horned helmet is destroyed, its vulnerable head will be exposed. Strike it rapidly to deal extra damage, and use SAS during the fight whenever needed. Stay on its side if possible to prevent the charge attack, and pin it down using Electrokinesis attacks. Proceed with full speed ahead and defeat the same types of Others if encountered. You shall eventually reach the next abandoned station, where Satori the Archivist can be found patiently waiting. Save the game and replenish Battle Items as needed, then head up the flights of inoperative escalators next to Satori to trigger a cutscene. Haruka's connection will be cutoff during this scene, suggesting heavy Others particles from a nearby section of the Extinction belt. A group of Rainy Rummies, Scummy Pools, and Rat Ruts will abruptly drop down from above. Gemma will command Naomi to join the Seto Platoon to support communicate with them. The skirmish against this group of Others will begin at the end of the cutscene.
With Gemma's and Shiden's help, clear the group of Others with empowered Electrokinesis attacks. The outer shell of the Rat Rut is fairly tough, but once they are broken, it can be eliminated with ease. Once this wave has been cleared, another cutscene will play, featuring the arrival of the Seto Platoon from behind, then the falling of large rubbles from above, dividing the team once again. Nagi and Naomi calls for help as more Others surround them, and Kasane, Yuito, and Gemma clear out the rubble barricade to run in for support. As the obstruction is cleared, two Auger Sabbats will appear. Destroy their helmet, then dominate by damaging the vulnerable, exposed part of the head with Electrokinesis attacks. Dispatch of both Auger Sabbats, and the rest of the minor Others to trigger the story's next scene to play.
Abandoned Subway: Suoh Line 9 - Metamorphosed
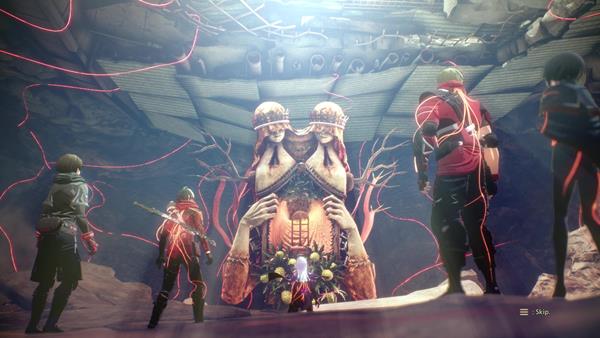
The next scene will show the important sequence of Naomi's sudden premonition, as she envisions Kasane to be shot by a bullet within the next 20 seconds. Naomi instantly charges towards Kasane to push her out of the way, taking the shot herself. Naomi quickly falls ill and her human form shatters like glass, appearing as a grotesque, enormous Others instead. Confused, she smashes the ground in front of her, send Kasane flying and unconscious from concussion. Kasane eventually wakes up to find her platoon members fighting her metamorphosed sister, and runs in to stop the battle. An unknown group of OSF members appear, and teleports Naomi away before riding off on a vehicle. Angered and worried for her sister's life, Kasane chases in desperation.
Once the cutscene ends, run straight through the tunnel. Save the game as pass by Satori the Archivist, and continue to move out of the Abandoned Subway. A small group of Scummy Pools will be waiting in front, which Kasane can clear with ease using Psychokinesis as there will be plenty of objects to throw from nearby. Beyond that, a Rat Rut followed by 3 Rainy Rummies will stand in your path. Destroy them with heavy Psychokinesis attacks, which would often times hit multiple of them as they are clumped together in this narrow path. Keep moving forwards as it is one straight road, and soon after defeating the Rainy Rummies, a cutscene will feature the sudden appearance of First Class Septentrion, General Karen Travers, who will stop Kasane from going any further. When asked why, Karen reveals that Naomi will not be able to change back even if Kasane tracks her down, and her best best now is to leave her for now. He points out that if she miraculously manages to bring her sister back, the OSF will Naomi since she is now an Other. Karen also tells Kasane that Naomi has been taken by the Seiran Garrison, and it is best not to tell anyone about what happened to Naomi as that will endanger both Naomi's and her own safety. As Karen takes off, Yuito and Gemma arrives, revealing the two ampoules that the mysterious Seiran soldiers dropped, leading Kasane to believe that Second Class Septentrion General Fubuki Spring's family company, Spring Pharmaceuticals, are conspiring with Seiran to create power enhancing drugs.
After the scene, travel back the way you came to meet up with Shiden and the rest of the platoon. As Kasane and Gemma catches Shiden up on the news about Naomi, Kodama Melone (Boss) appears, and a boss fight against her will begin.
Boss Fight - Kodama Melone
Kodama mainly attacks with soundwaves emitted from the swinging her metallic pipe. Though the swing itself is a melee attack, the soundwaves are AOE ranged attacks, dealing damage while briefly pushing units back. While trading blows upfront, Kodama may damage the whole party with a shockwave by smashing her pipe onto the ground. A skill that is fairly hard to evade, you may use SAS: Sclerokinesis to avoid damage, however, if you are gaining the upperhand with higher damage output, then you may also choose to save this SAS ability for later.
When at range, use Psychokinesis to interrupt her attacks. Throw nearby water barrels onto her, then follow the prompt by holding (LT) to drench Kodama in water, applying the Soaked Status Ailment. While she is slowed down, use SAS: Electrokinesis to further stun her with the synergizing Shocked Status Ailment. Spam damage on he as she is shocked to deplete her Crush Gauge. As she backs away, following up with Psychokinesis throws to empty the Crush Gauge, then chunk her health bar with Brain Crush. When she is at 25% health, repeat the cycle once more to finish her with a second Brain Crush.
The scene that follows Kodama's defeat will feature the arrival of General Fubuki Spring, and the platoon's return to the Hideout. Reporting the incidents that went down in the Abandoned Subway to commander Kyoka Eden, Kasane kept Naomi's whereabouts secret, and had Kyoka believe that her sister died instead. The scene goes on to show Kasane's determination to eventually save her beloved sister, then progresses into Standby Phase 2.
Trivia & Notes:
Trivia and notes go here
