Fate Split in Two is a Quest in Scarlet Nexus. After the encounter with Karen Travers in Kunad Highway, as well as the unfortunate event that turned out with Seto Platoon leader, Seto Narukami, the rest of the OSF cadets return to the Hideout for hospice not knowing that there are more terrors spiraling around Suoh.

General Information
- Phase: Phase 4
- Character: Yuito Sumeragi
- Previous: Inside Upside Down Reality
- Next: A Changed World and Creeping Unease
- Bosses: Kasane Randall
NPCs & Characters
- Hanabi Ichijo
- Wataru Frazer
- Gemma Garrison
- Tsugumi Nazar
- Fubuki Spring
- Kasane Randall
- Joe Sumeragi
- Karen Travers
- Satori the Archivist
Bosses
Items
Consumables and Other Items
Equipment & Upgrades
- n/a
Enemies
Fate Split in Two Walkthrough
Not knowing what to do next after the encounter with Septentrion, Karen Travers in Kunad Highway, as well as the unfortunate event that turned out with Seto Platoon leader, Seto Narukami, the rest of the members try to investigate about what is happening, only to find out that there are Others terrorizing Suoh City due to the city's defenses being shut down.
Suoh City Infested
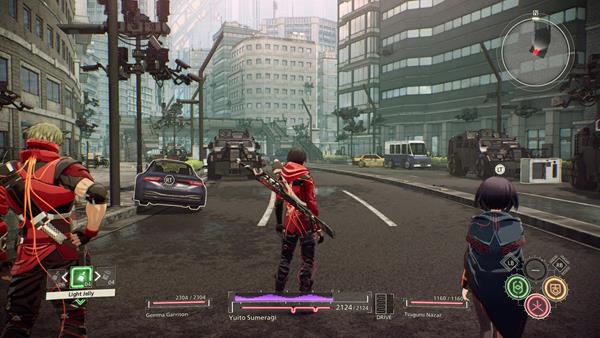
After the cutscene, you'll regain control of Yuito and you will be accompanied by Tsugumi Nazar and Gemma Garrison, and you'll also have Hanabi Ichijo on reserve. Even if a companion is at the reserve section of the party, you can still gain access to SAS: Pyrokinesis. Proceed through the streets of Suoh and you'll first encounter x2 Rat Rut enemies. Use Psychokinesis and throw objects at it to break its outer shell. A cutscene will then trigger after defeating the two enemies where Tsugumi identifies that Fubuki Spring is within the vicinity, knowing that Fubuki is on your side.
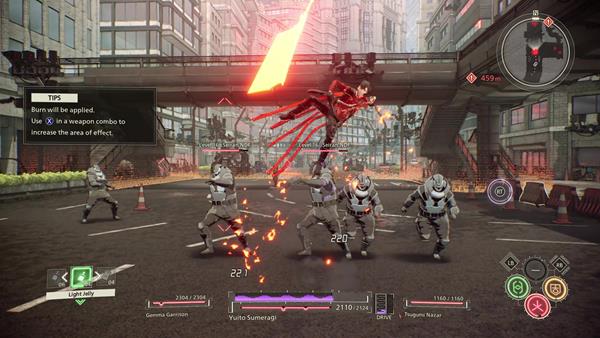
When the cutscene ends, continue forward towards the group of Seiran NDF enemies. Use SAS: Pyrokinesis so that you inflict more damage and you can hit multiple enemies at once. Continue moving straight towards the main road and you'll encounter x2 Rat Rut and a new Other enemy, the Missin Pound. The Missin Pound moves around fast while it's airborne so time your attack at the right moment with Rising Slash so you can land a large amount of damage, causing it to fall on the ground.

Shortly after defeating the three enemies, a Grin Yawn and another Missin Pound enemy will spawn, at some point while you are fighting, the area will be covered in smoke. When this happens, activate SAS: Clairvoyance so that you can see through it - you need to defeat all enemies before you can continue further, also make sure to check the corners of the city and look at the mini-map to find items, resource caches are marked with a green icon on the mini-map.
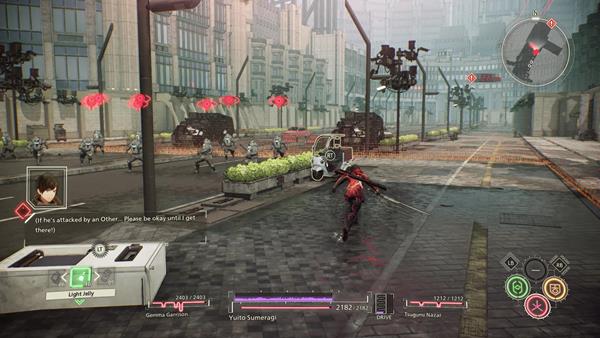
When you're near the OSF Training Facility/HQ, you'll encounter another large group of Seiran NDF soldiers. Dispatch all of the enemies so that you can proceed. Since there's a large group here and most of the time you'll be bombarded with their firearms, a good counter is to use SAS: Sclerokinesis so that you can negate their attacks, but be mindful of its cooldown, the effect will wear off if you cancel it and it the the time shortens whenever you get hit while hardened by SAS: Sclerokinesis. Another cutscene will trigger when you are near the headquarters of OSF, before you approach the entrance of OSF HQ, make sure to save the game - you can find Satori the Archivist just by the front gate.
Boss Battle: Kasane Randall
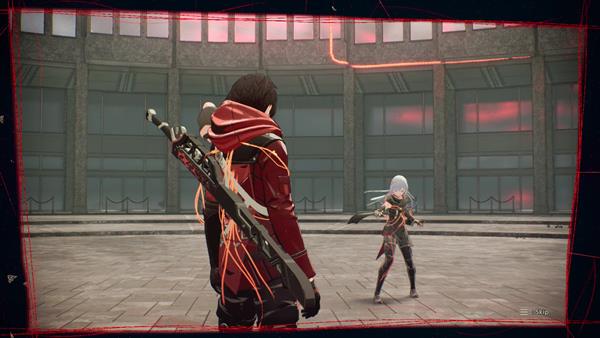
After the cutscene, you'll now have to fight against Kasane Randall for the second time around. Luckily, you've already fought against her once during the field training exercise in Phase 2, Days of Disquieting Stagnation. Remember that Kasane uses the same power as you do, the only difference is she has quite an advantage when using her weapon since she using throwing knives that are fast and can hit you at mid-range. So be ready to dodge a lot. Kasane will throw objects at you when she uses Psychokinesis, so the best way to counter her is to "Intercept" her attacks. If timed right after dodging any object or projectile is thrown at you, you can press the designated button to send those objects or projectiles back at her.
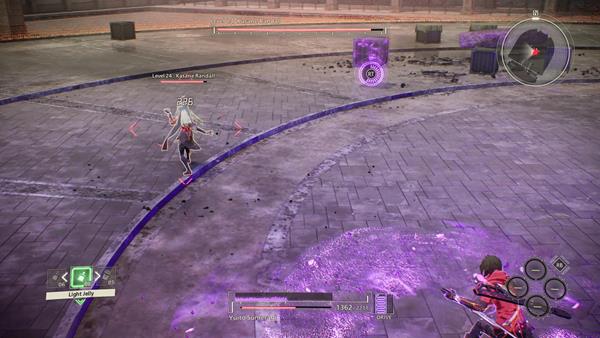
You'll know when Kasane will use Psychokinesis and throw objects at you when she stays put and focuses on grabbing and flinging that object at you. You can't stop her when she tries to throw objects at you so you need to either dodge or intercept her attack by throwing the object back at her. Another good tactic is to time your dodges at the right moment to trigger a Perfect Dodge, this way you can also counterattack.
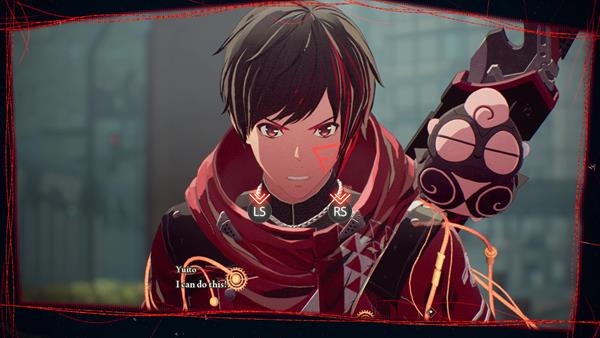
Your goal here is to keep attacking her until you've inflicted about 30-40% of damage to her health. When this happens, another cutscene will trigger and you'll be prompted to press the Left and Right analog sticks of your controller to trigger Brain Field. At this point, Yuito enters Brain Field. During this frenzy phase, you can't use any weapon attacks, but you can go crazy with using Psychokinesis attacks. Keep spamming your Psychokinesis attacks and maintain a safe distance from Kasane's attacks. At some point, you'll hear Gemma telling you to close the Brain Field to avoid losing control of Yuito's brain, if you don't close it, it leads to a game over.

When the tutorial window pops out, ress the Left and Right analog sticks of your controller to disable the brain field before it leads to your death. By doing so, you'll trigger another cutscene, end this quest, and enter the Standby Phase for Phase 4 - you'll also return back to the Hideout.
Trivia & Notes:
Trivia and notes go here
